sunset_2

sunset_2

Thursday, September 13, 2012

Zucchini Bread Made with Coconut Oil


Be sure to enjoy with coffee! 
My mom recently gave me a zucchini the size of a canoe.  Well, the size of a Barbie canoe.  I decided to make some zucchini bread, then realized I didn't have any vegetable oil.  I don't believe in running to the store, when I could possibly have something that would "make it work."  I thought of my little jar of coconut oil and got to work.  I adapted a recipe from some old recipe book I have laying around here. 

I love taking free ingredients and seeing what I can do with them!
 

ingredients:

3 1/4 cup of all purpose flour (I used bread flour because it's what I had)
1 1/2 tsp salt
1 tsp ground nutmeg
1 tsp ground cinnamon
2 tsp baking soda
3 cups sugar
1 cup of melted coconut oil
4 eggs, beaten
1/3 cup water
2 cups grated zucchini
1 tsp lemon juice (I was out so I used grapefruit)
Optional: 1 cup Chopped nuts & 1/2 cup Brown Sugar

directions:

  1. shred zucchini (I put mine in my ninja)
  2. preheat oven to 350 degrees and grease 2 standard loaf pans
  3. in a large bowl combine flour, salt, nutmeg, cinnamon, baking soda, and sugar
  4. in a medium bowl, add eggs, oil, water, zucchini & lemon juice.  Stir together
  5. Mix wet bowl into dry bowl.  Add nuts & fold in. 
  6. Bake for one hour or until toothpick comes out clean. 
I put my zucchini bread in the ninja instead of shredding it by hand. 
Find the biggest bowl you have, then find a bigger one. 
Because this makes A LOT of batter!


Instead of folding my nuts into the batter, I put them in the bottom of the pan to create a crust.  I added a few dollops of coconut oil and then dumped my batter in.
 
I've been making breakfast for my husband and his coworker he ride-shares with, and I thought they'd enjoy some of this zucchini bread with the other people they work with. Hubs was telling me he was going to take both loaves in, I said he could only take one, because I had to taste it and photograph it...He forgot to take any at all. More for me :)

Wednesday, September 12, 2012

Mini Meatloaf Muffins


My dear husband once told me that he wanted to have meatloaf for dinner every night.  I laughed at him.  I also laughed at the Barefoot Contessa when she advised you buy a special mini loaf pan to create mini meatloaves.  Why not mini meatloaf muffins?  These can also be frozen easily and pulled out for lunches or single portions.  This is nice for ensuring the hubby gets a healthy, non-processed lunch and saves us quite a few dimes. 

I have included a very basic meatloaf recipe below, I seldom follow a recipe, but you may want to if you're a beginner.  I'm sure your favorite recipe will work well using this method too!

ingredients:

2 lbs ground beef
1 egg
1 small onion (chopped)
1 cup dried bread crumbs
3 dashes of Worcestershire Sauce
2 Tbsp BBQ sauce or ketchup
salt & pepper to taste

Ketchup or BBQ sauce for glaze

directions:


  1. Preheat your oven to 350 degrees and grease a muffin tin.
  2. Mix 1st 7 ingredients together.
  3. Portion into muffin size balls.  Be sure not too pack the balls too tight, or your meat muffin will be very dense.
  4. Put mini meat muffins into a tin and poke a hole down the center with your finger.
  5. Fill the hole with ketchup or BBQ sauce and overflow on the top for a glaze. 
  6. Pop in the oven for about an hour, cool on baking rack. 
To freeze, wrap individually in plastic once cooled and store in a freezer bag. 

These didn't last long enough to freeze any! 


I served mine with fresh steamed green beans and homemade mashed potatoes. 


Tuesday, September 11, 2012

Peggie's Refrigerator Pickles


My mom (Peggie) has made these refrigerator pickles since as long as I can remember.  I remember walking in the house and smelling the dill and eating them while they were still warm (before they had fully refrigerated). 

I thought my hubby would like them so I got the recipe and made them for him.  He LOVES them.  He loves them so much I can't keep up and make them fast enough.  Whenever his friends come over he forces them to try some.  Needless to say, they've been a huge success.  Last week, I made a triple batch for him to take to work, and was informed last evening that they needed more.  I had some cukes in the fridge and the recipe is so easy, that I decided to go ahead and appease him.  I hope you try them and enjoy them as much as we do. 

Peggie's Refrigerator Pickles

3  tsp dry dill
1 cup of sugar
1/2 cup of vinegar
1/2 cup water
4 tsp salt
1 large cucumber
3 onions *

*You can use as many or as few onions as you like.  Today I didn't feel like chopping any so I didn't use any.  You can play with the ratio and figure out what you like. 

Directions:

1. Combine water, salt, vinegar, and sugar in a saucepan.  Heat on medium until sugar dissolves, stirring occasionally.

2. Meanwhile, slice cucumbers & onions into a bowl or storage container (jar, Tupperware, etc.).   I use a mandolin for my slicing and slice half the cucumber into thick crunchy cukes, and the other half into fine little slivers of cucumber.  Once you are done slicing, add your dill to the cucumbers.  (If you add your dill to your sauce pan, you are going to end up washing half of it down the drain.)    


3. Carefully pour the hot liquid mixture over the cucumbers.  Because I'm making a double batch, I always do this step in a bowl and then transfer into jars later.   I weight the top down with a plate to ensure that each cucumber is fairly submerged. Then, cover and place in refrigerator. 

4. Enjoy!  These are supposed to be able to last up to 1 month in the refrigerator.  I can't say for sure if that is the case because ours always disappear before a month is over!

Saturday, April 21, 2012

The Best Popcorn You've Ever Had, Outside of a Movie Theatre


You know when you get that craving for movie theatre popcorn, and you go to the movies, even though it's a movie you didn't really want to see, and some stranger sits behind you and kicks your seat the whole time while they chomp down their popcorn and you leave just wishing you could get the flavor of homemade popcorn at home without having to drop a bunch of money to have a stranger bug you during your whole popcorn experience...and the popcorn tastes nothing like you remember having as a kid?

No?  That doesn't happen to you.  Me either... Anymore anyway. 

I love popcorn, so much that I can actually eat it instead of a meal.  Lately though, I've been a bit freaked out by it.  Microwave popcorn was leaving a weird taste in my mouth.  When the dog begged for it, he'd spit it out...he doesn't spit anything out!  I decided to eliminate my microwave all together (for many reasons, counter space being the main one of them, but additional health benefits have followed). 

So, I was really really missing out on my popcorn.  While visiting The Driftless Depot Market & Deli I picked up a bag of local organic popcorn, and thought meh, what the heck.  I brought it home and put it in the cabinet for quite some time...until that popcorn craving hit. 


I thought it would be so much work to make my own popcorn on the stove, so I was dreading this, and imagining the worst... What if I burned all of it and my house smelled for days.  What if it overflows the pan, what if it tastes bad...I decided to persevere, as there was not a movie I wanted to see playing  in town. 

I pulled out the bag and read the directions.  It said for best results to use organic coconut oil..."Really?"  Well, as luck would have it I had some.


 I plopped 3 tablespoons (ish) into the bottom of my wok (hoping it was the appropriate pan and not too thin/thick/shallow) and put in some test kernels.


Once they popped I added the called for 1/3 amount of popcorn and some salt.  I put the lid back on and kind of freaked out for a second...nothing was happening.  Then, all at once pop, pop, pop faster and faster.  I picked up the pan, shook it and set it back down and did this over and over again until there were fewer and fewer pop pop pops.  Less than one every 3 seconds.  I couldn't take a picture while I did this, but trust me, it's going to be fine.

Then I tasted it.  It was heavenly, just like the movie theatre from my childhood.  I didn't even need butter, the salt I had put in the oil had dispersed evenly throughout the popcorn adding just enough flavor.  I dumped it into a big bowl and (while I didn't need it) warmed up some butter in my still-hot pan to add a touch more flavor.  Once the butter melted I put the popcorn back in the pan an shook it around, which coated all the popped kernels evenly.  I was hooked.  Oh, and by the way...the true test...the dog loves it :). 


I've read that movie theatres used to use coconut oil back in the day, but then in the 1980s, someone decided it was really bad for us, and they had it pulled from all the theatres.  Some theatres allegedly then instead used schmaltz (rendered chicken fat) instead.  I have no sources on this as most of what I've found has been on internet forums, so if you can confirm or deny, that would be great. 

Here's a link to an article that discusses the chemicals in microwavable popcorn and how it can actually make you sick.  

Chicken Fajitas


I apologize for the gap in posts.  I've been traveling and working like a dog.  Well, not like my dog... he seems to lay around in bed an awful lot...

I also gave up sweets, meats, and booze for 40 days, which didn't make me too excited.  I did manage to drop some pounds whilst avoiding the kitchen, so don't worry, I haven't been making things and not sharing them, I've been eating boring things that no one wants to read about...not that anyone actually wants to read about this...I digress...  

Last week I bought 8 chicken breasts and cooked them all up at once (simmered in chicken broth) and then kept them in the refrigerator with every intention of eating chicken for most of my meals in an effort to be healthier.  Well, long story short, I ate a bunch of junk and have a lot of chicken breasts left over.  So, I decided to make fajitas. 

I no longer use a prepackaged taco or fajita flavoring as it is cheaper, more ecofriendly, and contains less freaky preservatives to when I make my own.  Also, I have all these ingredients here and don't have a prepackaged mix, or I would have been tempted :).

I've included the recipe for the fajita seasoning, but everything else is really just a guideline.  They're fajitas people, it's not an exact science.  Use what you have and what your family likes, or use what you like and tell your family that if they don't like it they can make their own darn supper. 

I used:
3 chicken breasts
1 Green Bell Pepper
5 Mini Bell Peppers (Red-Yellow-Orange)
16 oz sliced mushrooms
1 Large onion
1 Package of Whole Wheat Flour Tortillas
You will also need some Olive Oil and some broth or water.

Fajita Seasoning Recipe:
1 Tablespoon of Cornstarch (I subbed 2 T of flour)
2 teaspoons of chili powder
1/2 teaspoon of salt
1 teaspoon of paprika
1/2 teaspoon of onion powder
1/4 teaspoon of crushed red pepper flakes
1/4 teaspoon of garlic powder
1/2 teaspoon of cayenne pepper
1/4 teaspoon of cumin

Mix all ingredients together.

Now, if you are using RAW chicken or meat of any kind, you would cut it into strips and coat with olive oil, then coat with fajita seasonings.  My chicken was already cooked so I didn't do it this way.  If you coat your meat at this point, put a little olive oil in your pan and throw it all in there to cook "stir-fry" style.  If your chicken is precooked, continue reading to see how I did it.  You don't want to dry out your chicken. 

Prepare your veggies.  I used peppers (green peppers, red peppers, yellow peppers and orange peppers), onions, and mushrooms.  Use as much as you think your family will need. 


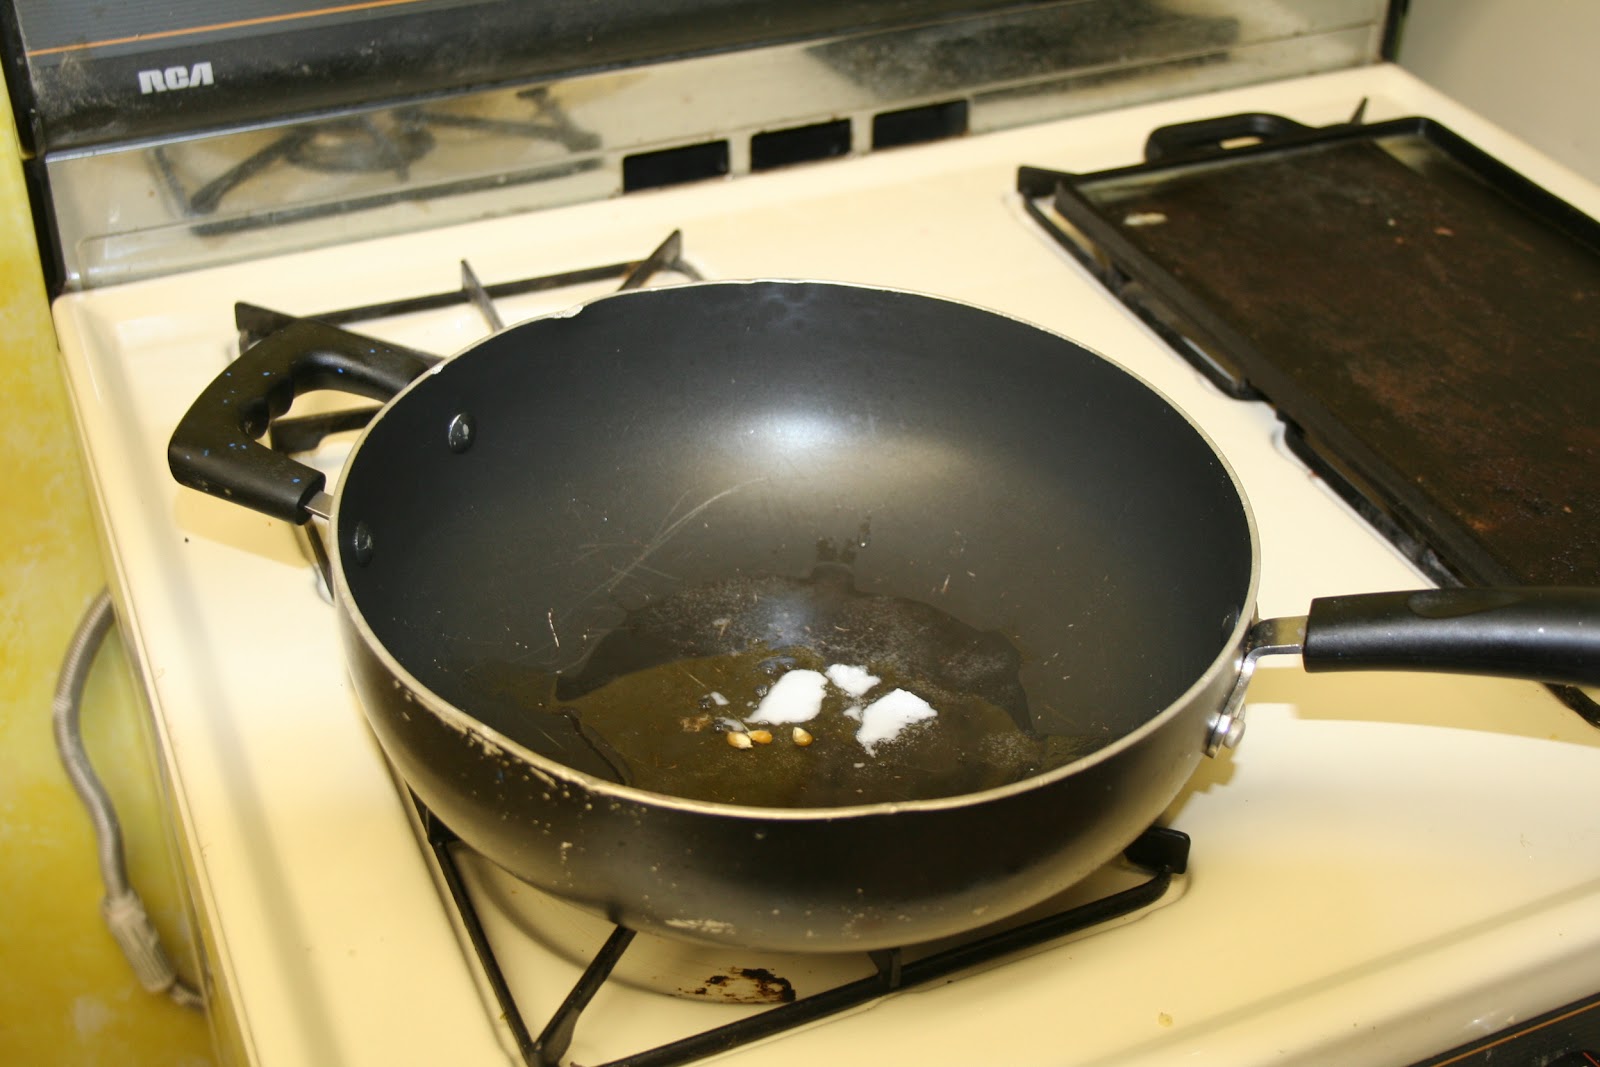
Heat a pan with some olive oil in the bottom and begin to stir-fry your veggies. I added a few vegetable broth cubes to allow for some liquid in the pan for the fajita seasonings to break down. You can use water if you don't have any broth.   


Once the veggies started to break down and the broth cubes had melted, I added some fajita seasoning mix (about half of what we had just made?). 


If you are using precooked chicken, get it out and slice it up into strips.  I used 3 breasts, but you can use more or less depending on your appetite.  I don't mind just eating veggie fajitas but the man likes meat. 


Add the sliced chicken to your wok and allow it to soak up any of the juices remaining from the veggie/broth mix.  The chicken is already cooked, so the idea here is to get it to take on flavor without drying it out.  Keep heat on medium to medium low until "juices" are gone.  Then just set aside with a lid on to keep the flavors going, but to considerably slow the cooking process. 

While I let the chicken absorb all those wonderful flavors I pulled some precooked frozen black beans out of the freezer and cooked them with a couple broth cubes.  Once these were warm I added some corn (from some corn on the cob I'd cooked earlier in the week and didn't eat) and 4 Tablespoons of homemade salsa. 


Serve fajitas with lettuce, tomatoes and any guacamole or sour cream if you have it.  I probably would have made some rice if I had any in the house, so we settled for tortilla chips. 

To heat my whole wheat flour tortillas I turn on the burner on my stove and throw the tortilla (w/o oil) right on the burner to "char" it a little.  The difference between a charred tortilla and a straight up burnt one is only a couple of seconds, so it would be best to not multi-task while you are doing this, because it seems, even the dog won't eat a burnt tortilla. 


Sunday, January 29, 2012

Grandma D's Thin Pancakes (Danish Crepes)


Growing up, my Grandma watched us while my parents worked.  For lunch she'd often make "thin pancakes" or Danish Crepes as you probably know them as.  This was a special treat, that all of us loved.  I don't think she actually cared for them that much, but it was an easy thing to whip up with only a few ingredients to feed three hungry kids.

INGREDIENTS:
1 cup flour
1 cup milk
2 eggs
1/2 tsp vanilla
small amount of oil

TOOLS:
Non-stick frying pan
basting brush
hand mixer
bowl with pour spout
clean kitchen towel

Grandma would always mix the ingredients in a large measuring cup, so I've done the same. She would use a hand mixer to make sure she didn't have any lumps.  I don't have a hand mixer, so I used a fork...and had lumps in my batter.   After you mix it, you want to let it sit for about 20 minutes, this makes it more manageable when you're cooking, but if you don't have time, that's fine too. 

Warm up your non-stick pan on medium heat.  When I say non-stick, I mean it.  If these pancakes stick at all, you are screwed.  Fortunately, I have brand new Paula Dean pans that my mom got me for Christmas :). 

Use a pastry or basting brush (a non melting one is preferred) to dip in your oil.   I used coconut oil, but you can use whatever you like.  Grandma used vegetable oil, I'm pretty certain.  This should just lightly coat the pan.  If you use too much, you're going to end up deep frying .... which might be delicious... but not what we're going for here. 

You will want to lift the pan and pour the batter in at an angle, then swirl the pan so the batter spreads out into a large circle.  It should be as thin as you can get it, while filling the whole pan.  I still haven't mastered the pouring into pan method, and sometimes get misshapen crepes.  (Thank you Leah Hrubes for the spoon holder featured to the right of the pan, I use it every day).  Once the pancake starts curling at the edges, the pancake is ready to be flipped.  I used a spatula at first, but then got a little cocky and started flipping it in the pan without.  Then I messed one up and reverted back to the spatula.  Do whatever you are comfortable with.  Transfer the warm pancake to a plate and cover with a clean towel.  When I was little my sister and I use to fight over who got to flip the towel for Grandma.  I believe it was very common to hear a whimper/whine "I want to flip the towel!" in that house for quite a few years.  Continue coating the pan with oil between pancakes, just a bit, to ensure it won't stick, you don't really want to be browning, just cooking. 

Please pardon my dirty stove.  This pancake is ready to flip.  See how the edges are curling?  This one was a bit thicker in the middle than it should have been, and notice my flour lumps.  Ah well, it tasted delicious.

Now, we will need to top our pancakes.  Grandma D's classic topping was cool whip and homemade jam.  My favorite was strawberry or strawberry rhubarb.  Since I didn't do any canning last summer, and didn't mooch any jam, I don't have any.  Fortunately I did pick some black  raspberries (for free), which I froze.  I tossed them in my warm pan with a bit of water and some sugar to create a jam like topping, once I added them to my crepe I added some cool whip. 


Then you want to roll them up, and cut them in half.  I like to eat them with my hands.
  
If you don't have cool whip and homemade jam either, these can also be served with (my little bro's favorite) syrup  and butter.  You can use them as a vehicle for scrambled eggs, or any sort of savory item as well, just omit the vanilla. 

My sister likes to put peaches and syrup in hers, and said she will make a batch up for the week to have a handy breakfast, or take some to work... or on a road trip, or make them when she's on a tight budget and needs cheap food.

 While I have never done it, you can freeze them to use at a future date.  Just be sure to put wax paper in-between pancakes or you won't be able to separate them.  I probably would do this, but they don't seem to last that long :).

Saturday, January 28, 2012

Bacon in Bulk

In my past life as a teenager (when I was skinny) I was a vegetarian.  Now I still enjoy many vegetarian meals, but Hubby has no interest in eating a non-meat main course.  I find that a good way for me to add a little bit of meat is to add some bacon to his portion.  That being said, bacon from the grocery store is often very expensive and very low quality, and a mess to deal with.  That's where I picked up this tip...buy it in bulk, cook in bulk.  My mom has been doing this for years, and I'm glad I finally picked up on the trend. 

 In my "bacon section" at my local grocery store ALL the way to the left in the corner is a generic looking yellow box filled with "Bacon Ends and Pieces."  I think most people don't buy it because they don't know what it is...


I'll tell you what it is...it's a bacon lottery.  For about 7 dollars you can buy this 3 lb box of bacon.  You only get a little peek window, so you have no idea what's inside.  I'll tell you it's generally fattier than what you would get in a see-through plastic shrink wrapped package, but the slices are thicker...think butcher shop bacon.  Sometimes you get lots of lean pieces, sometimes you get lots of bacon fat. 

Stick with me, what else can you use bacon fat for...?  As cooking fat instead of butter or canola oil.  (DISCLAIMER: While bacon is delicious, bacon fat should not be used to cook all of your meals, it's not good for you to eat all the time, believe it or not.)


I like to trim my bacon, so I only get the leanest cuts and reserve the fatty pieces for rendering bacon fat.  I would have snapped a pic, but my extra arms are taking our recyclables to the town dump. 


If you do not cook this bacon soon, it will mold, which is not fun to deal with (tear for wasted bacon).  So once you buy it, trim it all up and cook it all up.  This is handy for me, because I don't particularly enjoy cooking bacon because then I have to clean my pan often.  I recommend using a cast iron skillet, like mine.  Work smarter, not harder.  Cook your entire box of bacon and drain on some towels.  (I don't use paper towels often, but this is one of those times where I find it necessary, if you have a simple/eco friendly alternative, let me know).  By cooking it all at once, you've eliminated a ton of time in the future cleaning the same pan over and over. 

Once you've cooked up all your bacon, portion some out and wrap in wax paper and freeze.  This way, next time you need some bacon for a last minute meal, you've got it covered.  Lots of the little tiny pieces work great in salads and soups.  I store slices in my deli drawer so I can add them to sandwiches when I don't feel like cooking - I love being able to make a BLT in five minutes or less and having no clean up. 

You can also store your bacon fat trimmings to render down next time you need to cook with bacon fat.  I gave quite a bit of mine to my mom, as they have a 16 year old dog that can use some extra fat in her diet. 

Now, you've likely rendered a bit of bacon fat from frying even though you just fried the lean parts.  SAVE this!  It's so easy.  I have a vintage lard container that my mom scored for me, but you can keep yours in a jar if you don't have one. 


Than concludes today's Bacon in Bulk lesson.  If you have questions or want to share you're own personal experiences, I'd love to hear from you!

Friday, January 27, 2012

Kelsey's Apple Pie Turkey


Part of our intentional living means buying things in bulk, or whole products and then using the most of them that I can.  I try to do this whenever my schedule allows. 

This week, turkeys were on sale at the local grocery store for 1.40/lb.  That's a pretty good price.  I try not to pay more than $2.00/lb for meat/poultry.  I would have preferred a locally raised organic free range turkey, but hey, we're working within our budget guidelines, and I did buy it from our local store and not the vicious wally world, which are the only two places in town that I can buy a turkey.  I digress...

The turkey was frozen when I got it and I have no freezer space for a whole turkey, so I plopped it in a large kettle (actually supposed to be used for canning), and dumped in some homemade veggie broth (will post recipe in the future), some water, some apple-pie liqueur (will post recipe in the future), and 2 cups of salt.  I took it out to the garage to let it thaw and brine.  And thaw and brine. And thaw and brine.  I was actually going to cook it two days ago, but I was afraid it hadn't thawed fully, then I was going to cook it yesterday (and write this blog), but I got sidetracked working for the man until almost midnight (it's okay, my husband brought me a bottle of wine to wash my sorrows down with).

So TODAY is the day.  Once I was finished with my consulting duties, I scurried out to the garage and grabbed, well...told hubby to grab that turkey and bring it in.  I drained the brine and rinsed out the turkey inside and out.  Then I dried it with a paper towel. 

My goal is to have the turkey turn out better looking than this.
 
While the turkey dried, I got to chopping.  I chopped up some celery, skinned some carrots and quartered a large onion.  I left the pieces big, because these veggies are going to act as my roasting tray.  (this is a trick I saw Anne Burrell do on the food network).  Save your onion peels, the butt of your celery and your carrot skins so you can make stock in the future.  I throw mine in a reusable baggie or a jar and keep them in the freezer until I have so much I need to make broth or allow the chickens a feeding frenzy.  The combination of carrots, celery, and onion is called a mirepoix and is very common in French Cuisine.  If you mix these 3 ingredients together when you're cooking anything at all, it's bound to taste good and SMELL good, as all 3 of these veggies are aromatics.  I thought I took a picture, but it must not have saved.  Sorry, better luck next time. 


Next, I grabbed some softened butter, about half a stick, I seasoned it with some of my favorite seasonings, rosemary,onion powder, and garlic powder.  You can use what you like.

Then, I used my hands to separate some of the skin from the turkey, I stuck my hands in the butter and pushed as much of it as I could under the skin of the turkey.  With what was leftover, I rubbed all over the outside and inside of the turkey.  I would have liked to have taken a picture to show you how to do it, but my hands were covered in seasoned butter, and I am rather fond of my camera not covered in butter and rosemary. 


Then I tossed the turkey onto the rack of mirepoix and tented my aluminum foil I'd been using as a counter protector over the top.  I popped it in the oven that was pre-heated to 325 degrees F.  It's cooking away right now and smells AMAZING!

With about an hour left to cook (or one DVRed episode of General Hospital, and one episode of  30 Rock), I took the tinfoil off the bird so it would brown and get all crispy. 

Once it reached temperature, and the house smelled all deliciously, I pulled the bird out and let it rest.  I'm super pumped to carve this and eat some.  Then I'm going to freeze the leftovers and do something with the carcass, like make soup or scrapple, or something awesome.


Thursday, January 26, 2012

The General Store - Spring Green, WI


Dear blog readers (Mom & my cat),

I apologize for not posting yesterday.  "The man" had me chained to my computer preparing for a morning meeting.  I did however, manage to sneak out at lunch and meet Jamey, a coworker, to do a computer swap.  We decided to meet in the middle and have lunch.  Fortunately for me, Spring Green is the middle (yess!). 

I decided that we should go to The General Store.  The General Store defines themselves on their website as:
"A small business located in Spring Green, Wisconsin, featuring excellent coffees, exciting home-style ethnic cooking, micro brews, natural & gourmet groceries and an original selection of jewelry, cards, clothing, house wares, toys, vitamins, and natural cosmetics all in a converted cheese warehouse."

I couldn't have said it better, literally, that's why I ripped the verbiage from their website. 


We ordered at the counter from a small but robust menu, featuring lots of local friendly food items, and grabbed our "flag" to take to our table so the server would know what we ordered.  I couldn't help but let a quiet "Yesssss" slip out when we got Jamaica. 


I ordered an Italian sandwich and a Diet Coke.  The food came fast, and was delicous.  I don't know who made that baguette, but it was awesome.


Jamey ordered a chicken chipotle with bacon, you can see part of it in the picture below.  I was trying not to creep him out (I do work with the guy) and not get too close to his food.  He said it was a bit spicy, but just the right amount of heat.  We both appreciated the REAL(I believe local) greens instead of  iceberg like most joints offer. 


That concludes this visit to The General Store, they have many more wonderful things to explore there, but that will have to be for another day.  In any case, I strongly recommend visiting them for a luncheon.  If you are not in the Spring Green area, try out a local mom and pop joint in your area and let me know how it was!


Tuesday, January 24, 2012

Simple Cracker Recipe


I love Crackers, well, I love dips and cheeses and since these things seem to work out better with a wafery vehicle, and I'm poor, I've started making my own crackers. 

This keeps me from having to buy preservative packed crackers at the store for a whopping $3.00/box.  It also allows me to impress my friends with more than just the awesome dips I make.  Last time I made them, hubby doubted that I ACTUALLY made them and didn't buy them from the store.  To make your own simple crackers you only need 4 ingredients, that's right 4 ingredients!  Wow!  Seems like last time I read the back of a cracker box, they listed more than 4....

INGREDIENTS:
2 cups flour (i use a blend of whole grain and all purpose)
1/4 tsp salt
4 TBSP softened butter (real butter, expensive but worth every penny)
up to 1 cup of milk

Using a medium size mixing bowl, mix your flours with your salt. Then cut in butter. Some people use a food processor for this step, but I am poor and don't have one so I use a fork. You want the texture to resemble bread crumbs. Start with 2 T and work your way up to 4 if need be. Slowly add your milk until your dough comes together, it should not be sticky, if it is add some more flour.

Then divide your dough into two equal parts.  Place on parchment paper and let rest for 10 minutes.  During this time you can clean up your dishes you've dirtied and begin preheating your oven.  


Once the dough has rested you can roll it out. I take the parchment paper off the pan to do this. It should be paper-thin and a perfect square... or not.  I am not detail oriented enough for this step. 
Then cut your crackers using a pizza cutter
...or fancy pastry tool you don't know the name of...
Then prick each cracker a couple times with a fork (I own real forks I swear). 

Move the crackers back in the pan and bake on 300 - 350 (depending on thickness of cracker) until they are golden brown. 

They should look something like this!  Enjoy with some good local cheese or homemade dip.  Once you master the recipe try adding herbs, seeds, and cheeses to your crackers for a more flavorful result. 

consolidated
Directions:
Using a medium size mixing bowl, mix your flours with your salt.  Then cut in butter.  Some people use a food processor for this step, but I am poor and don't have one so I use a fork.  You want the texture to resemble bread crumbs.  Start with 2 T and work your way up to 4 if need be.  Slowly add your milk until your dough comes together, it should not be sticky, if it is add some more flour.  Once your dough has reached desired consistency divide into two pieces.  Preheat your oven and allow dough to rest for 10 minutes.  Roll dough out so it is paper thin.  It doesn't have to pit the pan perfectly unless you are super detail oriented.  I am not.  Using a pizza cutter, sharp knife or pastry tool, cut crackers into small squarish shapes.  Prick each cracker with a fork a couple times.  Pop in the oven and bake for 15 to 20 minutes or until golden brown.   Store in an airtight container.  Later, when you've mastered the recipe, add herbs, seeds, or cheese to your dough for a more flavorful cracker.